Key Takeaway:
- Understanding Tinting: Tinting is the process of adding a shade or color to a surface to alter its appearance. It involves adjusting the hue, saturation, and lightness of the color.
- The Different Types of Tints: There are various types of tints, including pastel, neon, metallic, opalescent, iridescent, translucent, transparent, matte, glossy, sheen, luster, shimmer, sparking, glittery, frosty, pearly, smoky, deep, muted, pale, bright, light, dark, vivid, intense, flamboyant, subtle, neutral, warm, cool, earthy, vibrant, jewel-toned, primary colors, secondary colors, tertiary colors, complementary colors, analogous colors, triadic colors, split-complementary colors, tetradic colors, achromatic colors, monochrome, gradation, ombre, fading, and blending.
- Factors to Consider in Choosing the Right Tint: When choosing the right tint for your needs, it’s essential to consider factors like legal tint shades, heat rejection, UV protection, and glare reduction. Make sure to review the shade card and color palette to choose the best tint for your vehicle or property.
Understanding Tinting
Photo Credits: colorscombo.com by Gregory Jackson
Color tinting is the process of adding a subtle shade to a color. It is done by adding tiny amounts of a specific color to the original color, resulting in a new hue. Understanding tinting is crucial for designers, decorators, painters, and anyone who works with color. It can change the mood and feel of a room or image instantly. Different shades of tint offer a variety of options for creating the perfect color palette for any project. By understanding the effects of specific shades, creators can play with tone and intensity to create the desired ambiance.
When it comes to tinting, shades are a measure of how much color has been added to the original color. Different shades of tint can vary depending on the amount of color added. By altering the amount of tint, the shade can be lightened or darkened, creating entirely different moods and emotions. A subtle addition of a tint can create a soft, romantic mood, while a bolder shade can create an energetic, playful space. Much like how humans perceive facial expressions, certain shades evoke specific emotions, and understanding the power of color tinting is essential.
In the world of tinting, color accuracy is key. A true fact is that according to Paintzen, a leading painting company, computerized color matching technology has revolutionized the tinting process, ensuring precise tinting every time. This technology guarantees that bespoke shades are always accurate, and the required shade is easily obtained. By mastering the art of tinting, creators can elevate their work and express their vision in a unique and beautiful way. Remember, different shades of tint are the building blocks of a beautiful color palette.
The Different Types of Tints
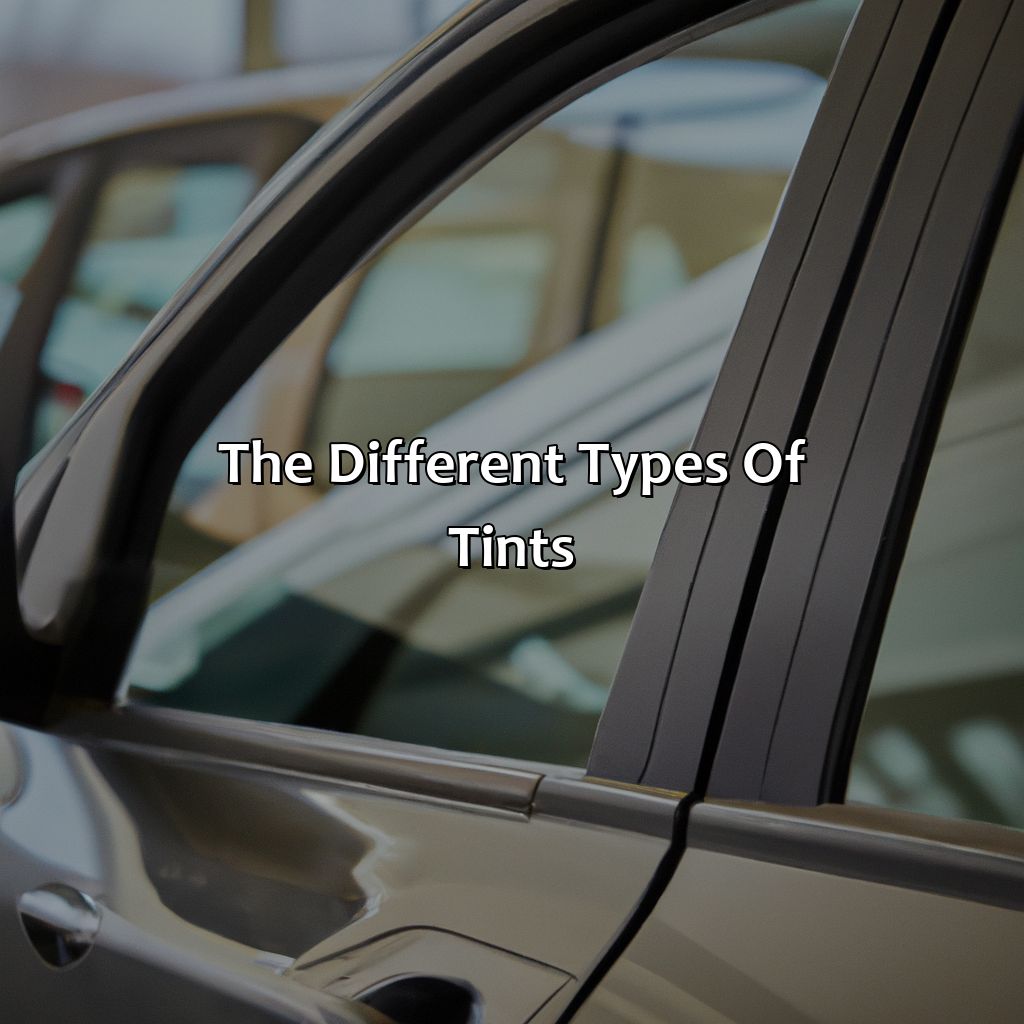
Photo Credits: colorscombo.com by Eugene Brown
We’ve categorized tints into pastels, neons, metallics, etc. We’ll also talk about color harmonies. We can provide you with ideas of the color and tint options available in dyed, metallic, hybrid, and ceramic window tints. Plus, shade cards and color palettes without confusing you with technical info.
Dyed Window Tint
Dyed Tinting – Enhancing the aesthetic appeal of a car by adding shades to its windows using non-conductive dyes is known as dyed tinting. This type of window film is made up of a layer of dye that is added between the adhesive and protective layers, providing privacy, glare reduction, and heat rejection.
– Dyed Window Tint involves the deposition of colorants onto the surface of window film, which limits solar energy transmission through those specific colors.
- They come in a variety of shades and light transmission levels ranging from clear to very dark.
- They do not interfere with electronic signals such as cellular phone reception or satellite navigation systems because they do not contain metals.
- The dyed film is generally less costly than metalized films and provides great privacy while driving.
- Unlike monochromatic dyed films that only give one color shade, polychromatic films offer various shades within a single color palette.
- Some high-quality tint companies often provide shade cards that allow consumers to see different hues on different models before making their decision.
Dyed Window Tint adds an extra layer of protection against sun damage to your car’s interior without compromising visibility. However, it is worth noting that dyed tint requires more care compared to other types. Avoid harsh cleaners and exposure to extreme weather conditions for its durability.
According to Autoblog.com, “Differences among brands are virtually indistinguishable.”
Want to create your own shade of tint? Just grab a shade card, a color palette, and some creativity – or opt for monochromatic or polychromatic metallic window tint instead.
Metallic Window Tint
Metallic Tinting for Windows offers a unique and stylish touch to your vehicle or building. This type of tint utilizes metallic particles in the film, creating a reflective surface that adds shine and depth to your windows.
- Metallic tint provides excellent heat rejection, making it ideal for hot climates.
- It reflects light and glare, reducing eye strain for drivers and occupants.
- It can add an aesthetic appeal as it adds sheen and style to windows.
- When combined with other colors on the shade card or color palette, metallic tints can create a polychromatic effect.
- Unlike monochromatic tints, metallic tints produce a more vibrant appearance and are more reflective.
Also, metallic films tend to be more durable than dyed films because of the added layer of metal particles. However, they may interfere with GPS, cell phone signals or radio reception due to their highly conductive nature. But these issues can be avoided by choosing a quality manufacturer and installer.
To maximize the benefits of Metallic Window Tinting, experts recommend following proper maintenance procedures. One should use gentle cleaning solutions when wiping down the window surface and avoid using abrasive materials such as newspapers or paper towels that can scratch the surface overtime. Furthermore, avoiding extreme weather conditions like heavy rainfall or freezing temperatures may help protect your tint from peeling off.
Looking for a tint that’s both monochromatic and polychromatic? Check out the hybrid window tint and its versatile shade card and color palette options.
Hybrid Window Tint
Hybrid Window Tint offers added privacy with its darker shade. The combination of metal and dye create excellent heat rejection. It protects against harmful UV rays while reducing glare. It has a monochromatic look due to its blue-black hue. It is commonly used on vehicles because of its subtle appearance.
Hybrid Window Tint also provides more protection against fading than other types of tints. Its polychromatic feature adjusts to light levels, altering the tint level without changing the window’s color.
One car owner enjoyed not having to squint when driving during sunny days since her windows were equipped with Hybrid Window Tint. She also appreciated how it effectively blocked harmful rays from entering her vehicle’s interior, keeping everything cooler inside even under direct sunlight for hours at a time.
Choosing the right shade of ceramic window tint is like creating a color palette for your car, whether you go for a monochromatic or polychromatic look.
Ceramic Window Tint
Ceramic tint is a comparatively new technology as compared to dyed and metallic tints. It utilizes nano-ceramic particles that are fused with the film during production. The resulting product creates an ultra-thin layer of protection against heat and glare, albeit in a clear form.
With the advent of ceramic window tint, car owners can now enjoy a wider range of options beyond those offered by the regular shade card or color palette. Unlike monochromatic tints that offer only one shade, ceramic tint offers polychromatic options that create a unique and vibrant look.
The benefits of ceramics come at an additional cost as they tend to be slightly higher due to their manufacturing process; however, ceramic tints last longer than other alternatives because they do not fade or wear out quickly.
In the past, dark window tint was linked with criminal activity. Its popularity skyrocketed when celebrities began using it for privacy purposes. Now police officers have similar shades installed on-duty vehicles as standard issue solutions for many police departments across the United States.
Choosing the right tint is like finding a partner: it needs to be legal, protect you from heat, UV rays, and reduce the glare – but also make you look good.
Factors to Consider in Choosing the Right Tint
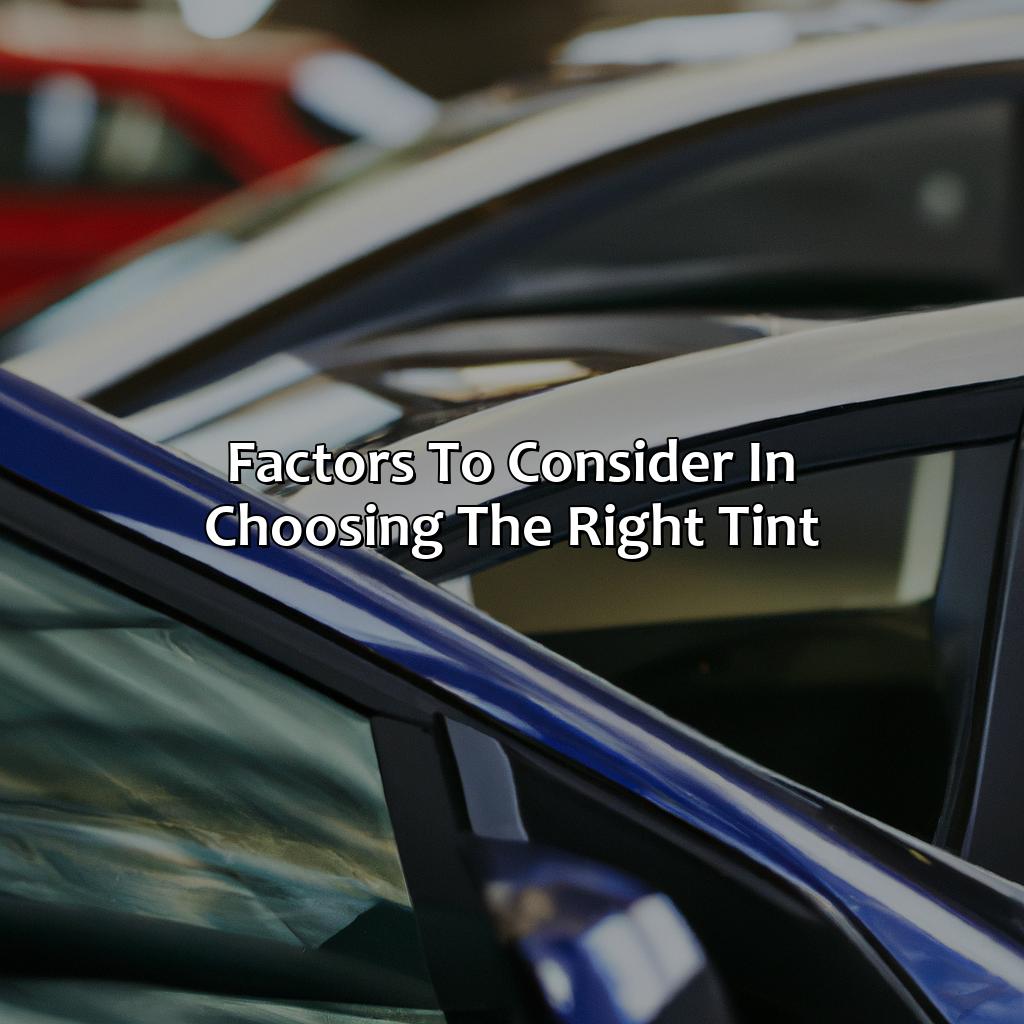
Photo Credits: colorscombo.com by Henry Harris
Choosing the correct tint from legal shades requires you to consider several elements. Heat rejection, UV protection, and glare reduction are a few of these. This section will explain the importance of each factor and how they impact choosing the right tint. Detailed solutions for Legal Tint Shades, Heat Rejection, UV Protection, and Glare Reduction are discussed in sub-sections to help you make a wise decision.
Legal Tint Shades
Local and national laws often regulate the allowable level of car tinting. Here’s a breakdown of standard limits, which depend on the vehicle type and window position.
| Vehicle Type | Front Windshield | Front Side Windows | Rear Side Windows | Rear Window |
| Sedans and Coupes | No Tint Allowed | Max 70% tint or more light transmission (LT) | No Limit, but recommended not below 30% tint or up to 70% LTs for darker shades. | No Limit, but recommended not below 30% tint or up to 70% LTs for darker shades. |
| SUVs and Vans | No Tint Allowed | Max 70% tint or more light transmission (LT) | No Limit, but recommended not below 30% tint or up to 70% LTs for darker shades. | No Limit, but recommended not below 18-20% tint. In case of limousines/bus applies for vehicles over21 feet long with maximum of 5%, high reflective/smirr tints across windows |
For commercial vehicles laws vary by location.
Not all Shade cards and color palettes on showrooms are eligible for use.
Choosing the right tint is like picking from a shade card, but with heat rejection, it’s the color palette that really counts.
Heat Rejection
Window tinting aids in reducing heat transmission from the sun’s rays and helps maintain a comfortable temperature within the car, office or home. A good heat rejection capability is an essential feature of any window tint.
| Heat Rejection | Types of Tint |
|---|---|
| Up to 50% | Dyed Window Tint |
| Up to 70% | Hybrid Window Tint |
| Up to 80% | Ceramic Window Tint |
| Up to 95% | Metallic Window Tint |
The heat rejection capabilities vary amongst tint types. Dyed window tints offer lower heat rejection rates, while ceramic and metallic options have higher features. The color palette and shade card must be considered before selecting the appropriate window tint.
Proper installation is crucial in achieving optimal results. Entrust experienced professionals to carry out deep cleaning and surface preparation for increased adhesion during application. Avoid harsh weather conditions immediately after installation, or during application.
To maximize durability, use a soft cloth dampened with mild dishwashing soap and water for cleaning tinted windows. Harsh chemicals, such as ammonia-based cleaners, must be avoided. Regular maintenance is necessary for extended UV protection and glare reduction features of tints.
Protecting your car and your skin from harmful UV rays has never been so fashionable with the endless shade options on the tint color palette.
UV Protection
Protection from Ultraviolet Rays –
Tinting your windows may offer varying levels of protection from harmful UV rays depending on the type of tint used. UV-blocking tint shades are available in vast options from the shade card or color palette, which can block up to 99% of ultraviolet radiation. The amount of protection offered depends on the darkness and composition of the material utilized in the film application. A quality window tint film will also prevent fading and damage to your car’s interior upholstery due to extended exposure to sunlight and heat.
It is recommended that you choose a tint with high UV protection, especially if you live in a sunny area as such places receive additional exposure to harmful rays. Ensure you find accurate information about the percentage of ultraviolet reduction offered by any window tint before making any purchase decisions.
Pro Tip: Installing a high-quality window tint with good UV protection can help extend the lifespan of your car’s interior upholstery, saving you money in repairs and replacements over time.
Looking for the perfect shade to reduce glare? Check out our shade card – the color palette of tinting options!
Glare Reduction
Glare can be a distracting and sometimes dangerous phenomenon when driving. Thankfully, window tints can help reduce the amount of glare coming into your car. This feature is especially useful for those who drive long distances or during the day in bright sunlight.
Reducing the level of arising glare whilst driving using tinted windows is essential. With regards to tint films, shade cards could be an absolute win here since it aids selection from a variety of options to best suit different preferences that would match desired colors, making it easier to pick which shade best suits one’s needs. In addition to glare reduction, certain shades may also aid in reducing the overall heat inside the cabin by blocking out a percentage of harmful UV rays.
One key factor to consider while installing tint for glare reduction is choosing the right darkness level, as a film that is too dark can make it difficult to see at night or during stormy weather conditions. When selecting color palettes, one should remember that every hue would have differing effectiveness levels at reducing glare; therefore, select a color palette based on personal preference and performance qualities.
To ensure maximum durability and protect against peeling or discoloration, proper maintenance like avoiding harsh cleaners and conditions is crucial for customers seeking stellar performance from their film over time. By following recommended cleaning guidelines and only using non-abrasive tools or materials when cleaning, one can significantly improve their product’s lifespan.
Emphasizing a balance between installation quality and correct shade can help customers optimize their choice of window tints and maintain top-notch results throughout time. Feeling like a master painter with a shade card and color palette, the installation process of tint is all about blending the perfect hue.
Installation Process of Tint
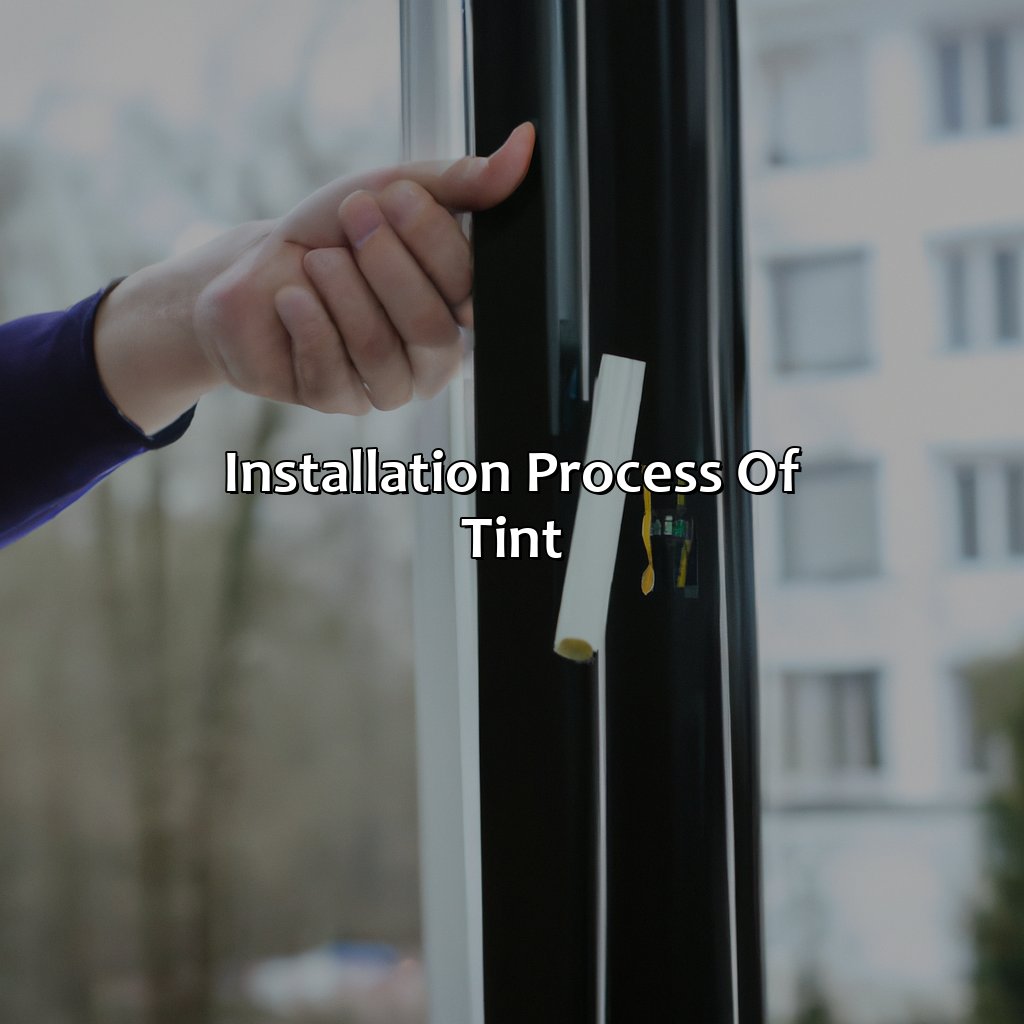
Photo Credits: colorscombo.com by Ralph Martin
To get a perfect tint install, you need to follow some steps. You can pick the right tint shade with a shade card or color palette. Blending is key – and that’s when the correct tinting technique comes in. There are four parts of the tint installation process:
- Getting the surface ready
- Cutting the film
- Applying the film
- Drying the tint
Preparing the Surface
Before applying tint to the windows, it is essential to prepare the surface correctly. This step is crucial to ensure that the tint adheres correctly to the glass without any bubbles or wrinkles.
To prepare the surface for tinting, follow these 5 simple steps:
- Clean windows with a non-ammonia-based window cleaner.
- Wipe down windows with a microfiber towel or lint-free cloth.
- Remove any dirt and debris from rubber seals surrounding the window.
- Scrub away any stubborn contaminants with a razor blade or scrub pad gently.
- Dry off the window completely to make sure there’s no moisture present before applying tint.
It’s best practice to avoid leaving fingerprints on the glass after completing this process. As oils and other unwanted particles will interfere with how well tint adheres.
Proper preparation of the surface also reduces scratches that may be visible when applied inappropriately.
To achieve excellent results on your newly tinted windows:
- Keep doors and windows closed for two days following installation
- Leave enough space from edges during tint application
- Preheat surfaces before installation
By following these guidelines, you can avoid lifting, cracking, and air pockets under your film while also ensuring a long-lasting product.
Cutting the film is like handling a fragile heart, one wrong move can result in a shattered outcome.
Cutting the Film
The process of preparing the tint film involves a crucial step – ‘cutting the film’. It is imperative to master this skill before actually attempting to apply the tint on your car’s window. Below is a concise guide on how to cut the tint film like a pro.
- Measure: Accurate measurement of the area where you want to apply the tint is crucial. Take measurements twice to ensure accuracy.
- Set-up: Clear an uncluttered, dust-free, and dry space for cutting and prepping areas beforehand.
- Positioning: Place the measured film on top of a clean and flat surface with a backing sheet facing down.
- Marking: Next, using a sharp razor blade or utility knife, start marking by following over your measured dimensions carefully.
- Cutting: Now it’s time for precise cutting. Use straight lines and gentle pressure with even strokes to avoid any bubbles or wrinkles when applying later.
Make sure you’re confident in your cutting ability before moving forward with application as mistakes made in this stage can ruin everything you’ve previously worked hard for.
Once you’ve completed cutting your tint films, further steps towards installation will follow smoothly without any snitches or confusion towards achieving successful results in window coverage achievement while enhancing i.e., UV protection, minimizing glare, albeit more importantly fingerprint smudge resistance through daily wear and tear on vehicles.
Applying the film is like wrapping a gift, except the gift is your car’s windows and the wrapping paper is, well, tint.
Applying the Film
The application of window tint involves the careful attachment of film to the surface of the glass. It requires precision, attention to detail, and proper tools. The key to a successful tint job lies in the skillful application of the film.
Applying the film properly begins with ensuring that the surface is clean and free from debris or contaminants that could interfere with adhesion. Once cleaned, the film can be cut to fit the window size. Then, it is carefully placed onto the glass using a squeegee and special tinting solution.
The process involves smoothing out any air bubbles or wrinkles that may have formed during installation. Once applied, excess solution is removed, and the tint must be allowed to dry thoroughly before it is exposed to any moisture.
Notably, improper application can lead to creases, air pockets or unevenness on windows leading to reduced visibility. Thereby making it vital for experienced technicians who use precision techniques.
A common challenge auto professionals face while applying tints is achieving a seamless finish without any bubbles which disrupt its functionality; meaning that they must apply with care while still being mindful not to compromise other safety features such as electronic components whilst fitting.
Let your tint dry like a fine wine, with patience and plenty of time.
Drying the Tint
After applying the tint to the windows, drying the tint is crucial to ensure that it sets correctly. Proper drying also ensures that bubbles or creases do not form on the film.
Here’s a 4-step guide for drying the tint:
- Leave the car in a shaded area or garage for at least 24 hours after installation.
- During this time, avoid opening or closing the windows as this may cause the tint film to peel off before it dries completely.
- If your car has multiple windows with tints, roll down each window about an inch and leave them in this position for another 24 hours. This allows any trapped air behind the film to escape properly improving adhesion of the tint to your window.
- In case you need to roll down your windows prior to complete curing so as not to destroy newly installed film., make sure you lightly spray water along its edges and then using a paper towel gently press on areas where water is starting come out until dry before rolling down completely.
It’s important to note, while drying when temperature inside windows is high owing to direct sunlight shining on it, don’t touch with sharp objects or expose excessive pressure like heavy raindrops.
In my experience helping a friend install their own car tint, It was observed that if drying under sunny weather conditions, it can speed up completing paint protection installer task and reduce recoat times while warranty remains unaffected by project outcome.
Keep your tinted windows clean without harsh cleaners or weather conditions raining on your parade.
Proper Maintenance of Tint

Photo Credits: colorscombo.com by Philip King
If you want your tinted windows to last and look great, you must maintain them properly. Check out “Different Shades of Tint” for long-term satisfaction. This section on Proper Maintenance of Tint has tips on how to clean your window tint, what cleaners to avoid, and how to keep them safe from harsh weather.
Cleaning Tinted Windows
To keep tinted windows looking clean and clear, proper maintenance is crucial. Here’s how to keep them looking their best:
- Use a non-abrasive cleaning solution.
- Apply the solution to a soft cloth.
- Gently wipe down the windows with the cloth.
- Dry the windows using a clean, dry cloth or towel.
Regular cleaning will ensure that your tinted windows remain free from dirt and dust buildup. Avoid using abrasive cleaners, which can scratch and damage the tint.
When cleaning tinted windows, it’s important to avoid harsh weather conditions, such as extreme heat or cold temperatures. These conditions can cause the tint to peel or bubble.
Did you know? Tinting technology has evolved significantly over the years – from simple dyed tints to advanced ceramic tints that offer improved heat rejection and UV protection.
Scrubbing your tinted windows with abrasive cleaners is like trying to erase your past with a permanent marker.
Avoiding Abrasive Cleaners
When cleaning tinted windows, it is crucial to avoid abrasive cleaners that can damage the film’s surface. Certain cleaning agents with harsh chemicals or rough materials can scratch or scrape the tint, leading to irreparable damage. Instead, opt for mild solutions like soapy water or a specialized window cleaner recommended by your tint installer.
Abrasive cleaners are not only harmful to the tint but also compromise its durability and functionality. They can cause discoloration, peeling, or bubbling, leading to the need for costly repairs or replacements. Treatment with gentle care ensures that your tinted windows remain in good condition.
In addition to avoiding abrasive cleaners, it is also essential to use a soft microfiber cloth when wiping off the cleaning agents from the film’s surface. Using anything else can be damaging and leave residue marks on your newly installed tinted window.
Protecting your aesthetic investment over time will require you to clean and maintain consistently without using harsh cleaning products. In case of doubt about what best practice is recommended, always refer back to your installer for expert advice to get longevity out of your purchase at every point in time.
Protect your tint like your ex’s new partner during a hailstorm.
Avoiding Harsh Weather Conditions
When installing tinted windows, it is important to take precautions against harsh weather conditions. Extreme temperatures and moisture can affect the adhesive qualities of the tint film, resulting in bubbles, peeling or discoloration. To prevent this, it is recommended to avoid exposing the newly installed tinted windows to direct sunlight or rain for at least a few days after installation. Additionally, washing the car in direct sunlight or with cold water should be avoided for a week after the installation. These practices will ensure that the tinted windows remain free from any imperfections caused by harsh weather conditions.
Pro tip: It is best to get tints installed during cooler months to avoid extreme temperature fluctuations that could impact their longevity.
Five Facts About Different Shades of Tint:
- ✅ Tinting car windows can block up to 99% of harmful UV rays, protecting the interior and occupants from damage and skin cancer. (Source: CARiD.com)
- ✅ There are different shades of window tint available with various levels of darkness and cooling properties. (Source: CoolVu)
- ✅ Not all states in the US allow tinted windows, and those that do have restrictions on the percentage of tint allowed on different windows. (Source: Tinting Laws)
- ✅ Tinted windows can help reduce glare from the sun and headlights of other vehicles, improving visibility and reducing eye strain. (Source: Ziebart)
- ✅ Tinting can also enhance the appearance of a vehicle, providing a sleek and stylish look. (Source: Tint World)
FAQs about Different Shades Of Tint
What are the different shades of tint available for windows?
There are several different shades of tint available for windows, ranging from very light to extremely dark. Some of the most common options include 50%, 35%, and 20% shades of tint.
What is the purpose of using different shades of tint on windows?
The primary purpose of using different shades of tint on windows is to provide privacy and block out excessive sunlight. Tinted windows also help to reduce a building’s energy usage by keeping the interior cooler and reducing the need for air conditioning during the summer months.
Can I choose a tint shade based on my personal preference?
Yes, you can choose a tint shade based on your personal preference. However, it is important to ensure that the state regulations regarding the maximum allowable tint percentage on vehicle windows are being followed. Additionally, the type and purpose of the vehicle should also be considered when selecting a tint shade.
What is the legal limit for the darkness of tinted windows?
The legal limit for the darkness of tinted windows varies by state and also depends on whether it is a vehicle or building window. In general, the maximum allowed percentage of tint ranges from 50% to 20%, with some states having no limit for rear windows on vehicles.
How long does it take to apply tint with different shades to windows?
The time it takes to apply tint with different shades to windows depends on the size of the window and the type of tint being used. In general, it can take anywhere from 30 minutes to several hours to apply tint to all windows of a vehicle or building.
Can I remove tint from windows if I change my mind about the shade?
Yes, it is possible to remove tint from windows if you change your mind about the shade. However, removing tint can be a difficult and time-consuming process, especially if it has been in place for a long time. It is best to seek professional assistance to ensure that the tint is removed safely and effectively.